


Important Shop Announcement
I have a cute Halloween printable for you (free!), but before we get to that, I have an important shop announcement:
My shop (both this website and my Etsy shop) will be on break from Sept. 10 through Sept. 28 while I’m away at a work training*.
I’ll be leaving the websites up so you can continue to access my digital tutorials, but physical orders will not be filled and shipped until I return on September 28.
If you are purchasing physical items, please order by midnight, September 8, to ensure shipping before I leave.
Free Halloween Printable
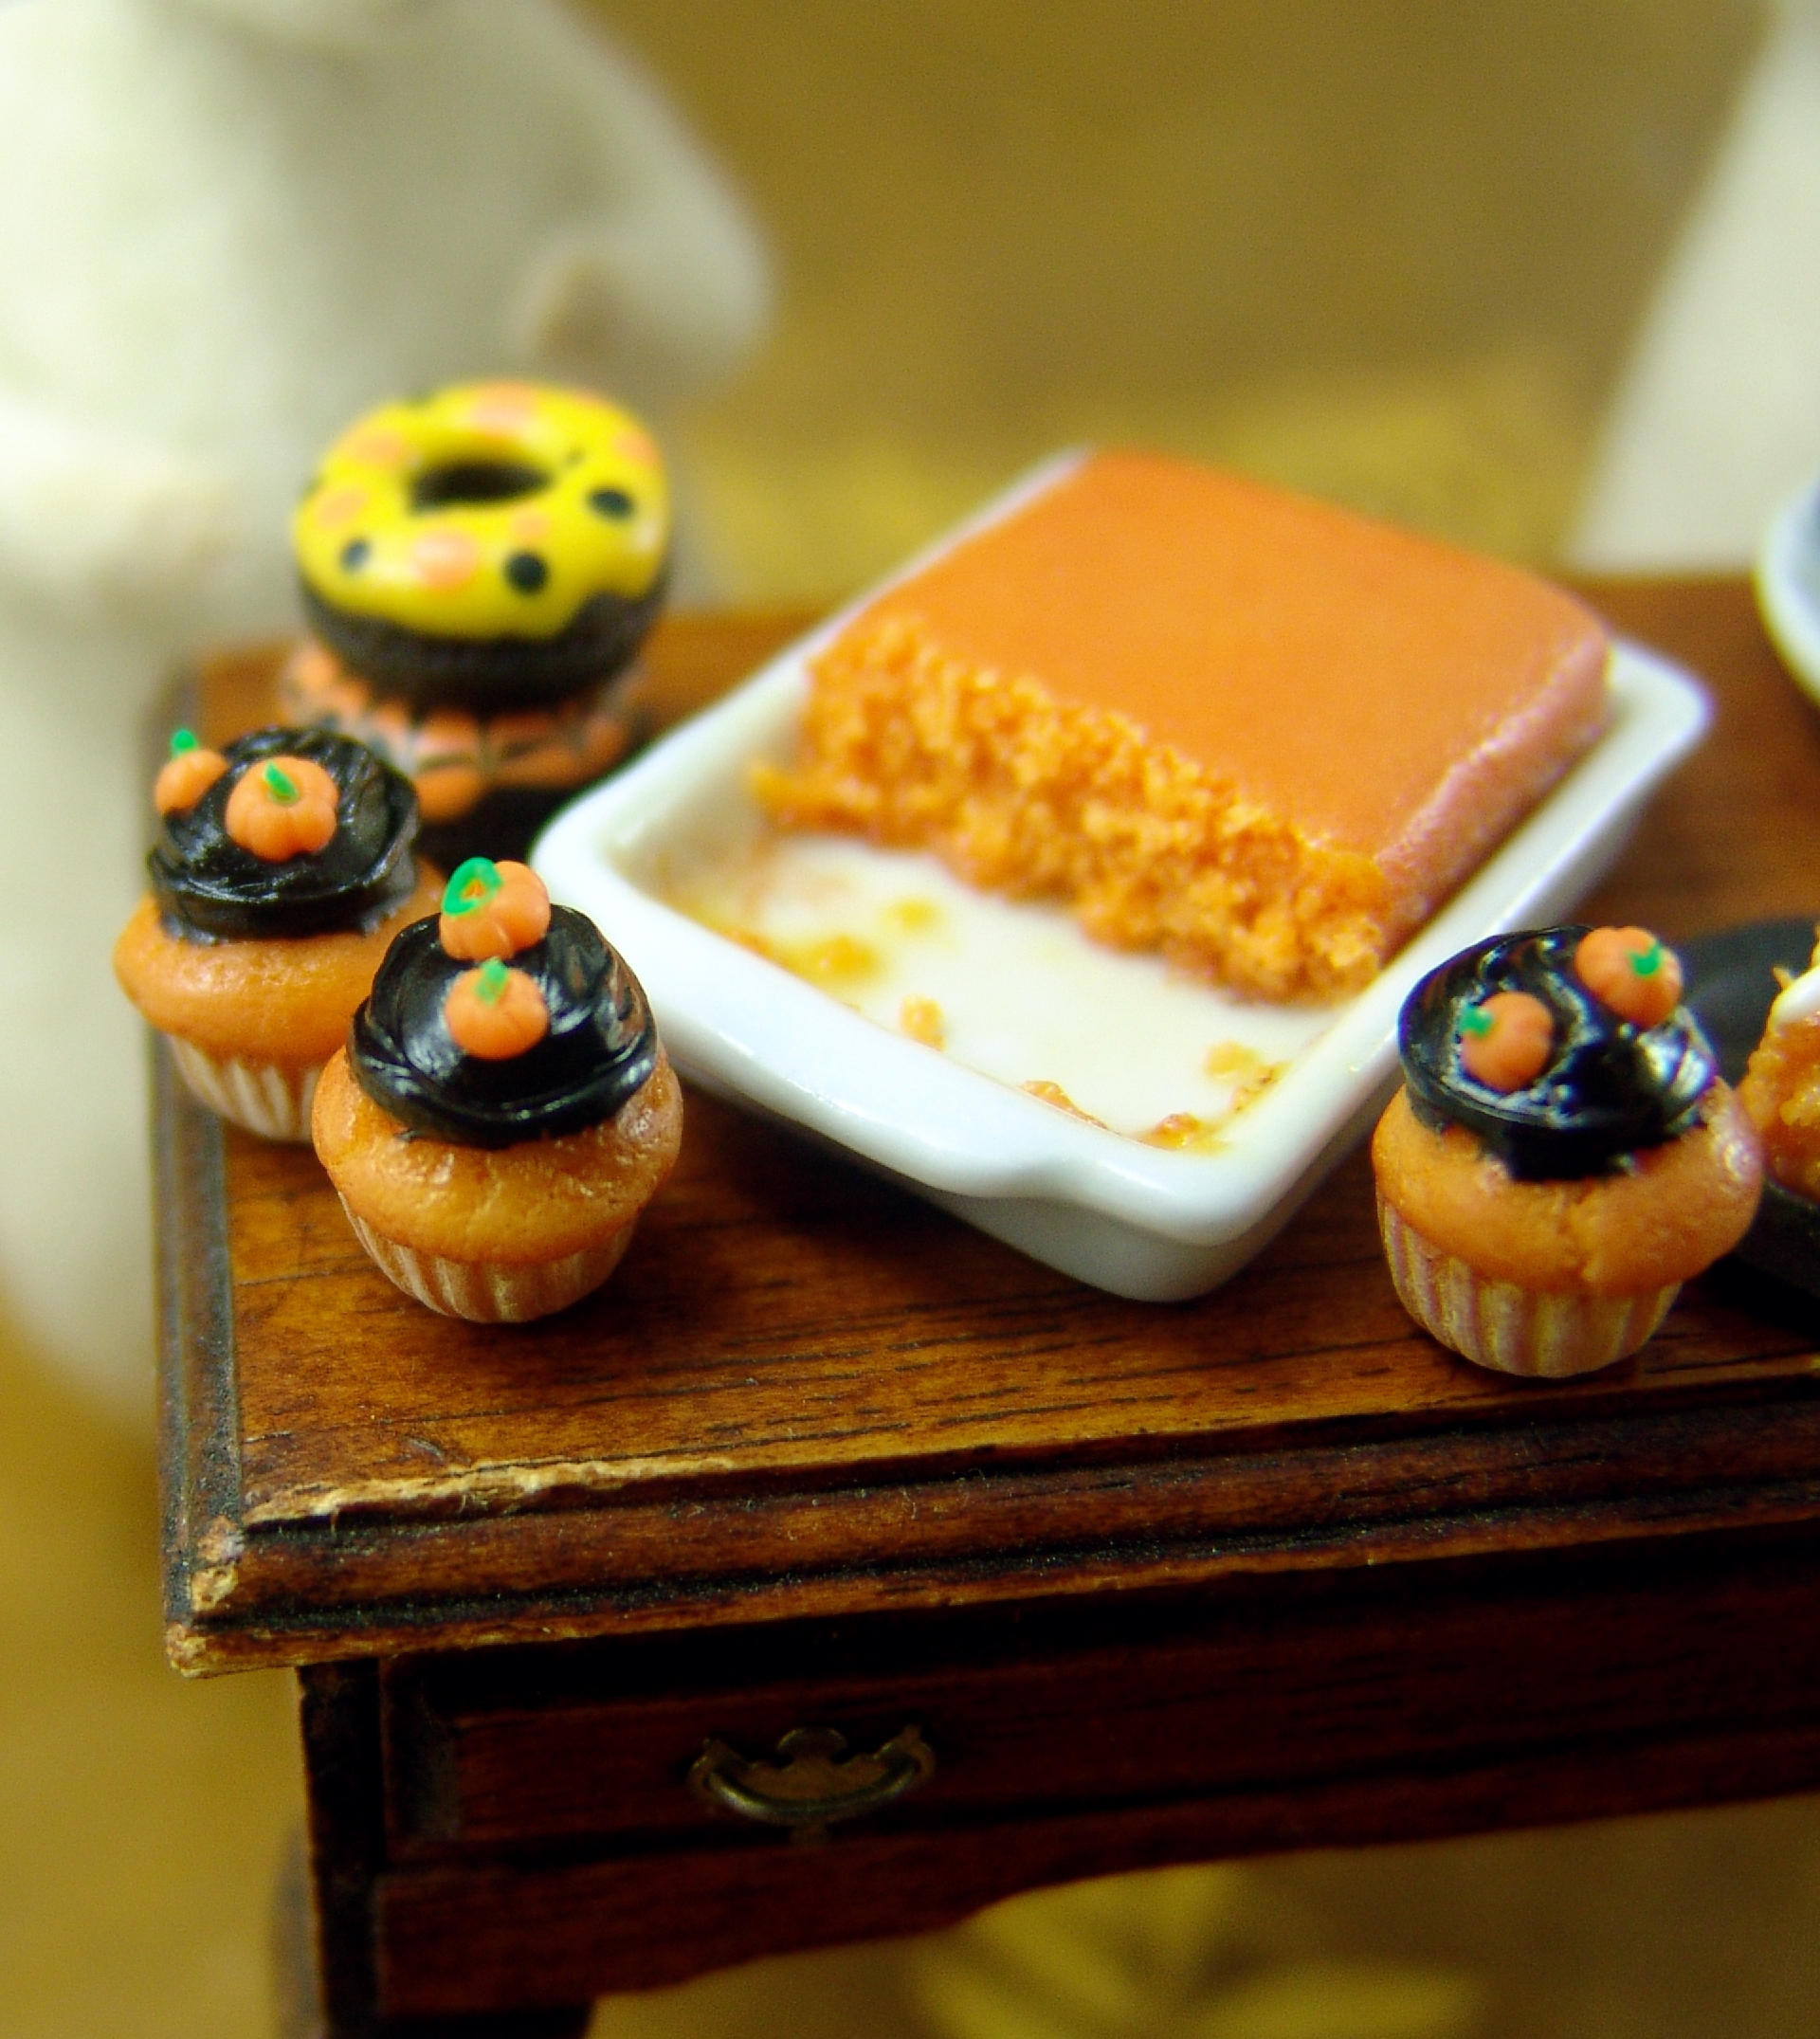
And now, onto the fun stuff! I’ve been on a Halloween kick lately, as evidenced by this small smorgasbord of spooky eats:
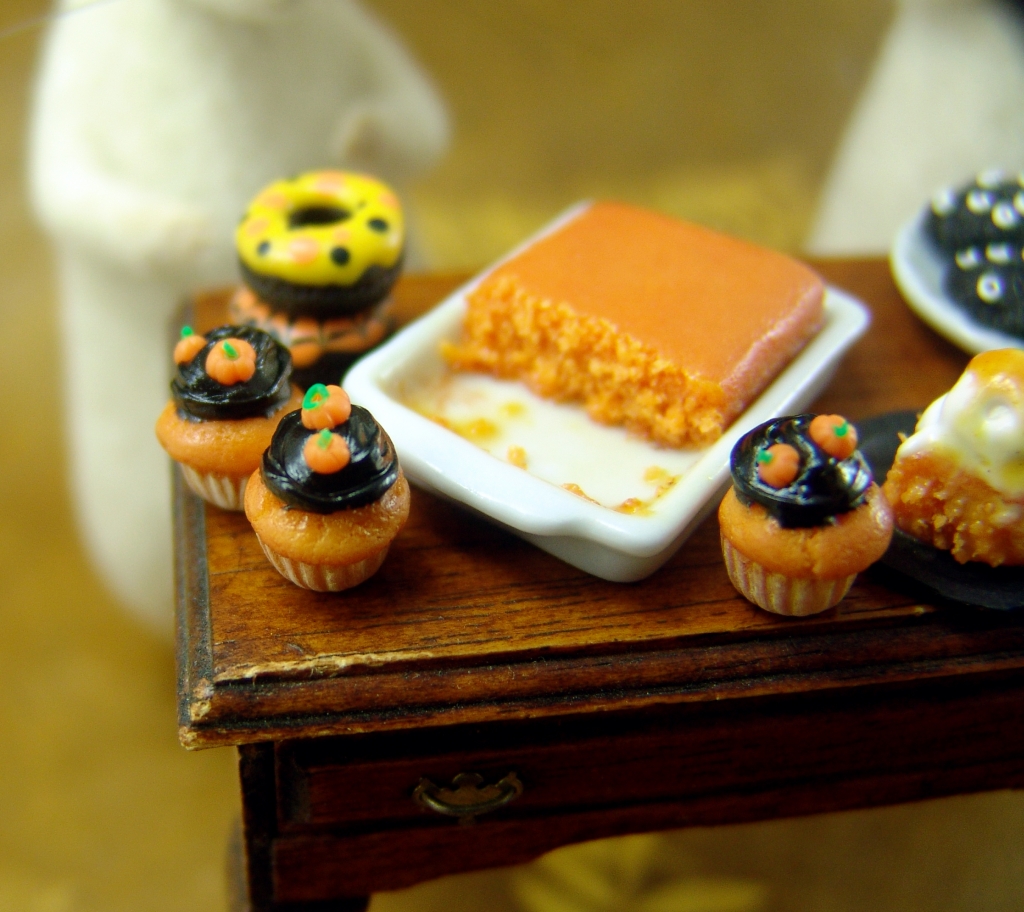
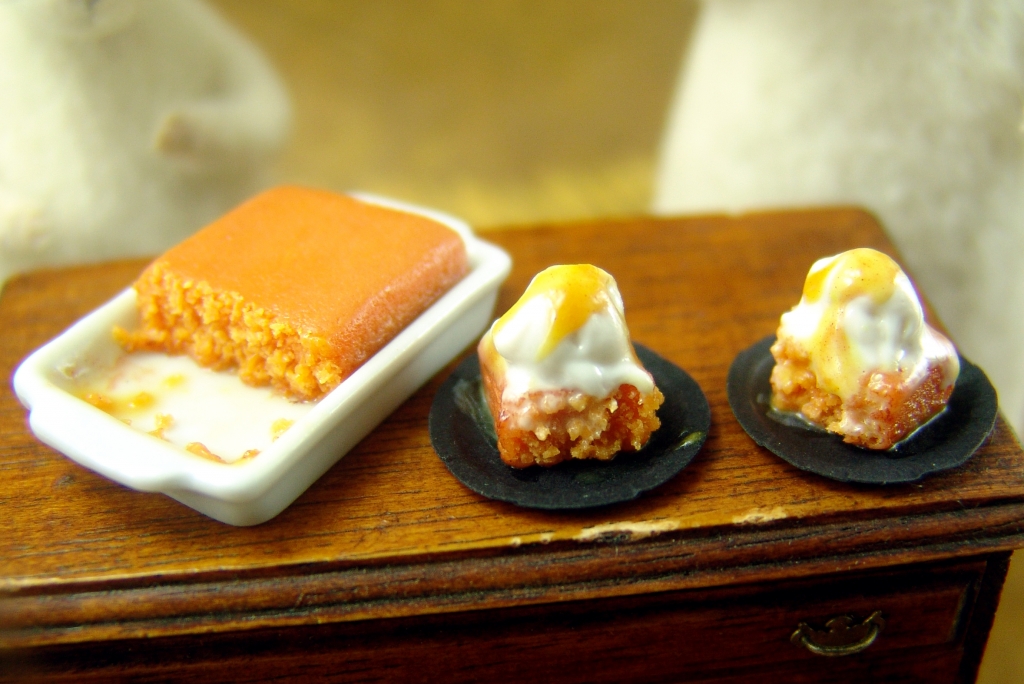
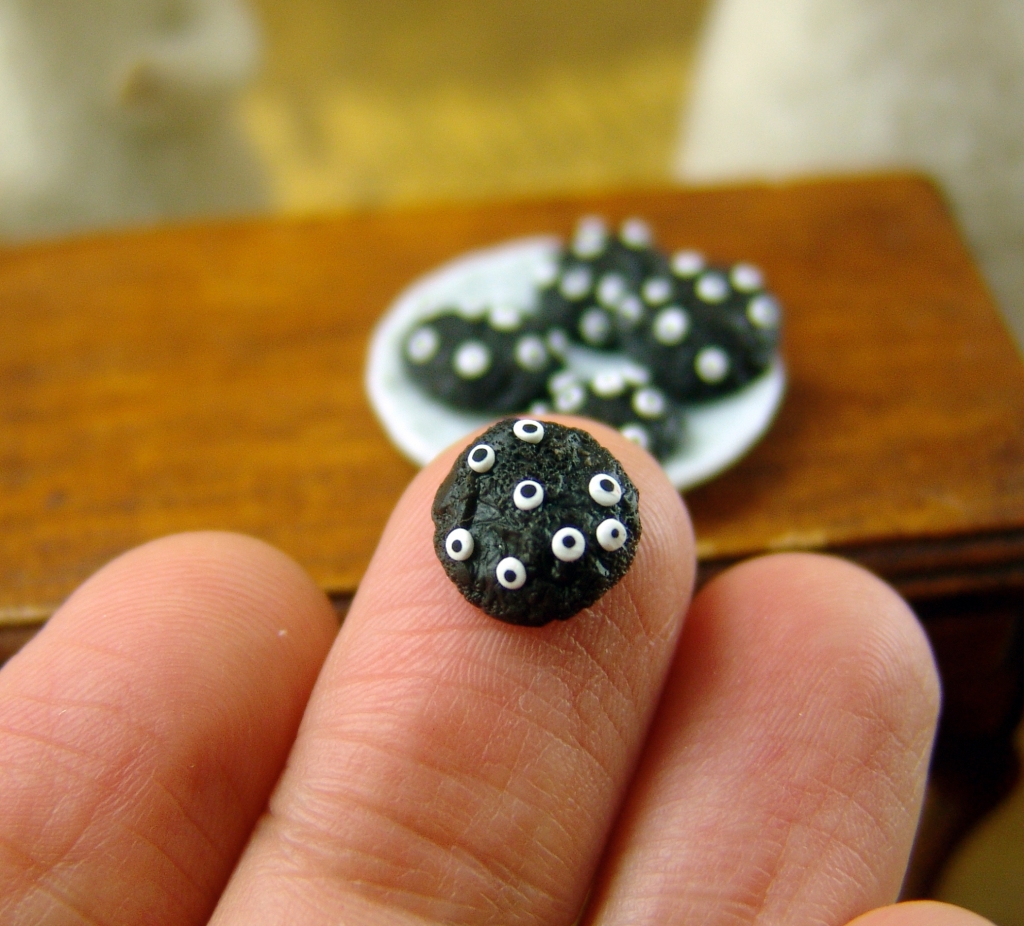
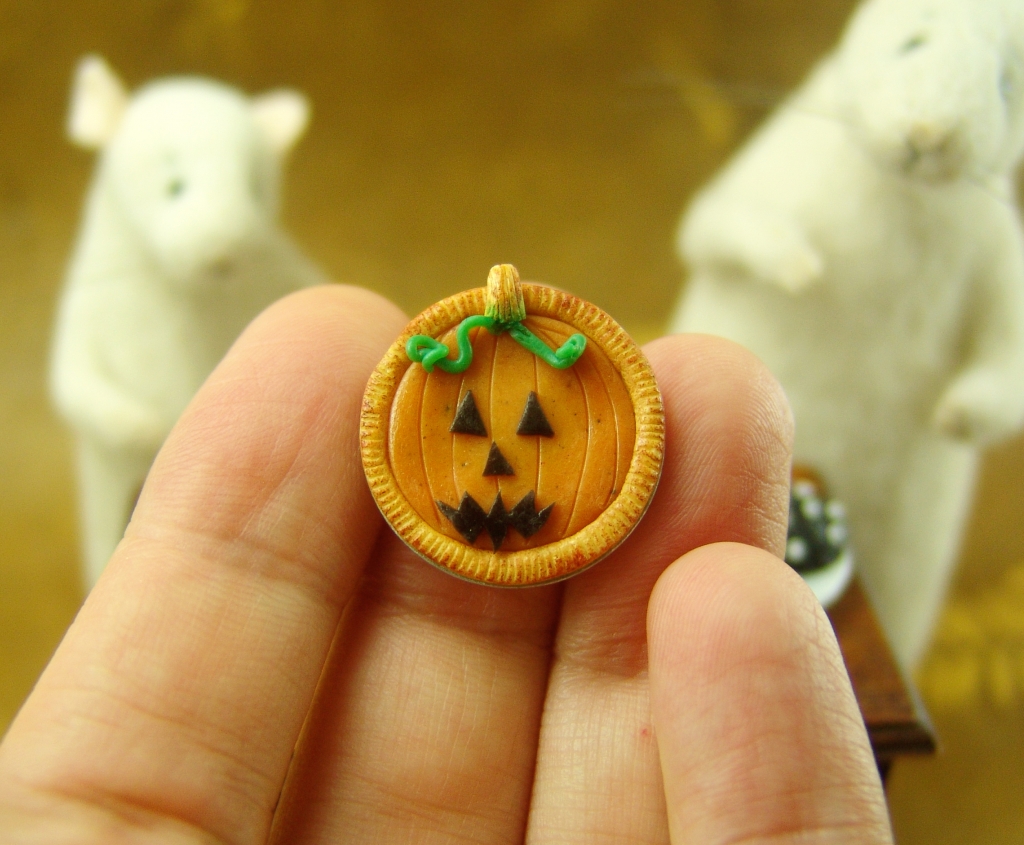
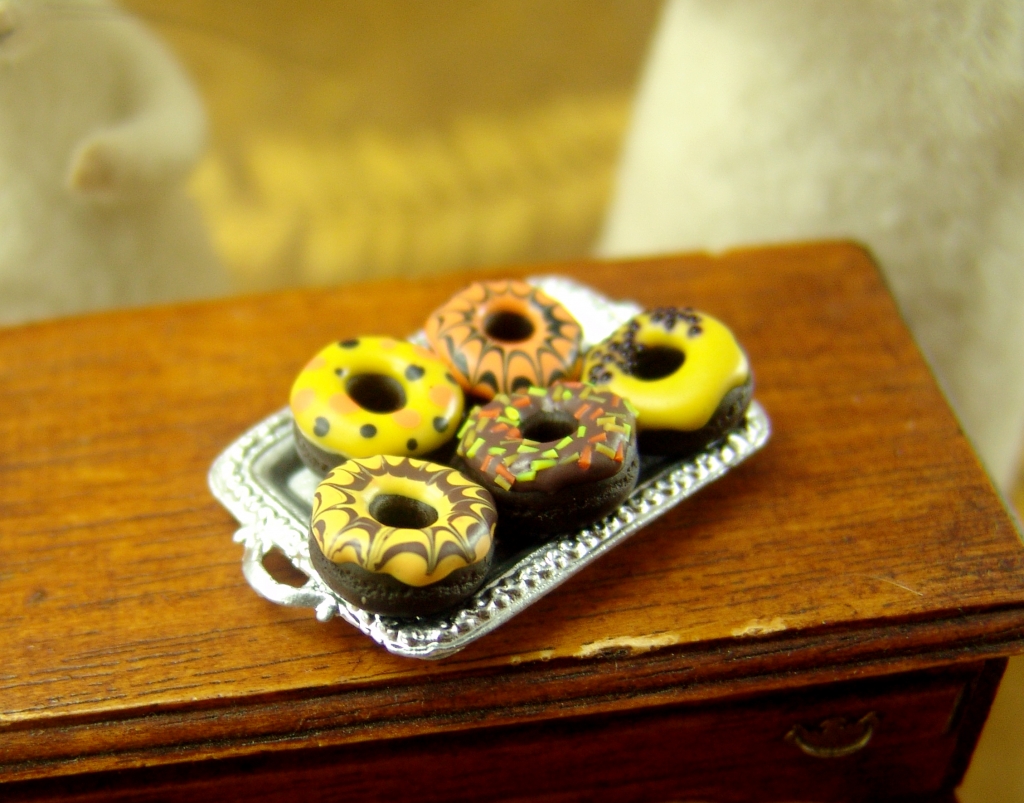
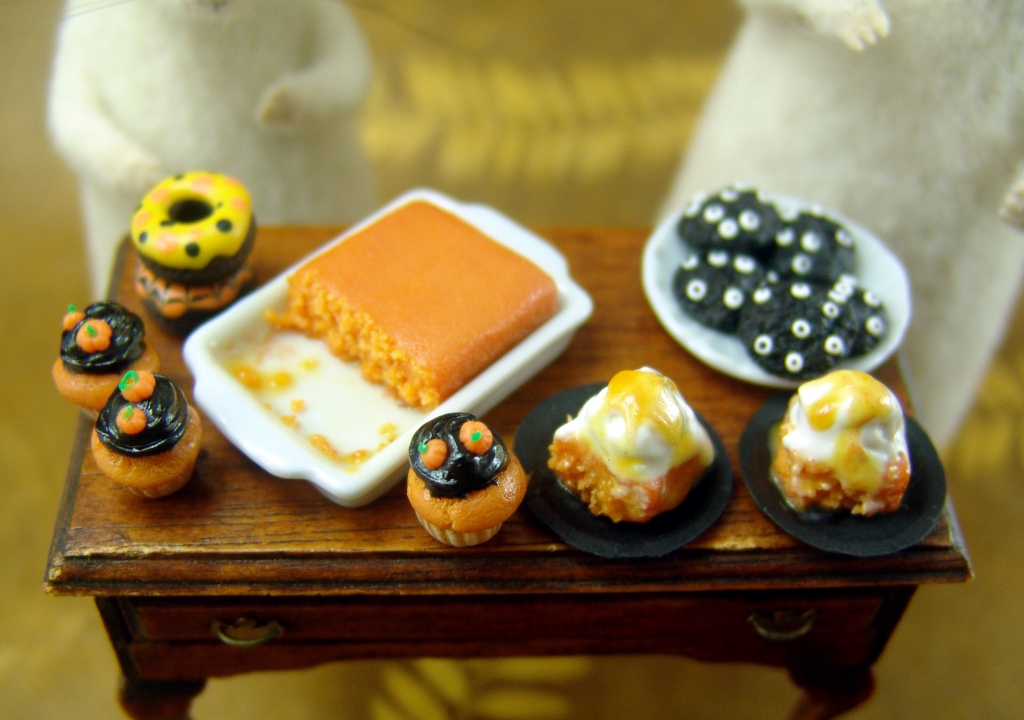
There’s only one available of each piece, so snag your favorites here before they’re gone.
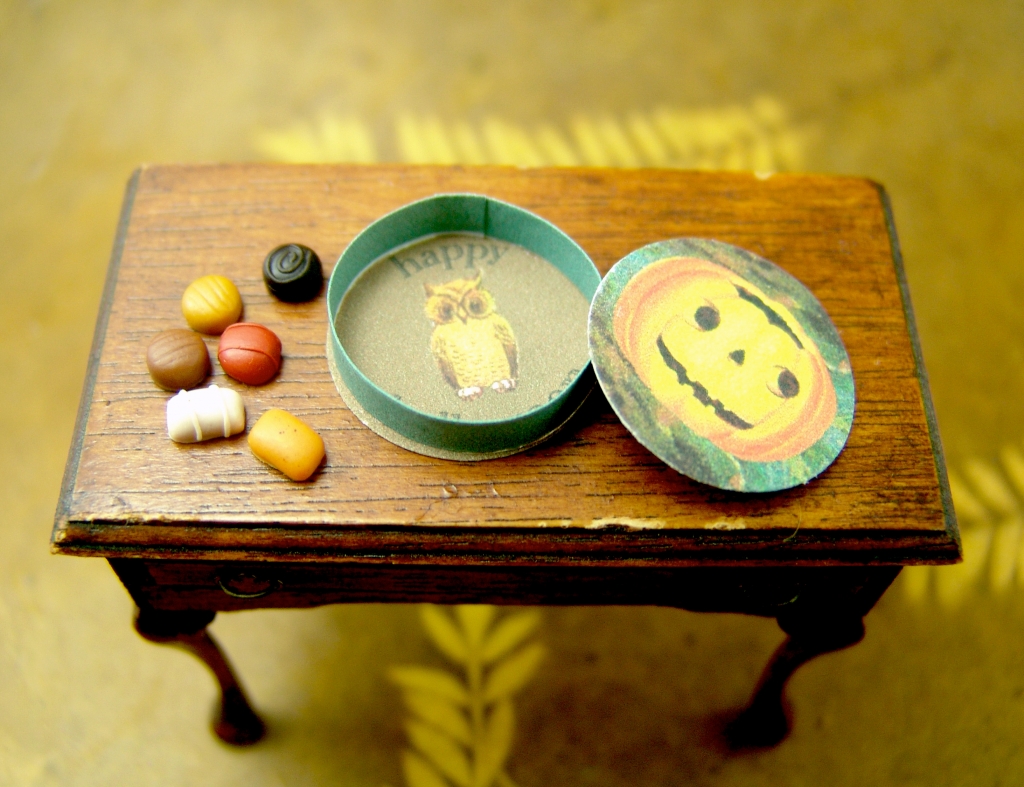
Today, I used my chocolates mold to make tiny truffles in autumn colors. (Want to make traditional chocolates? Get the free tutorial and printable box here.)
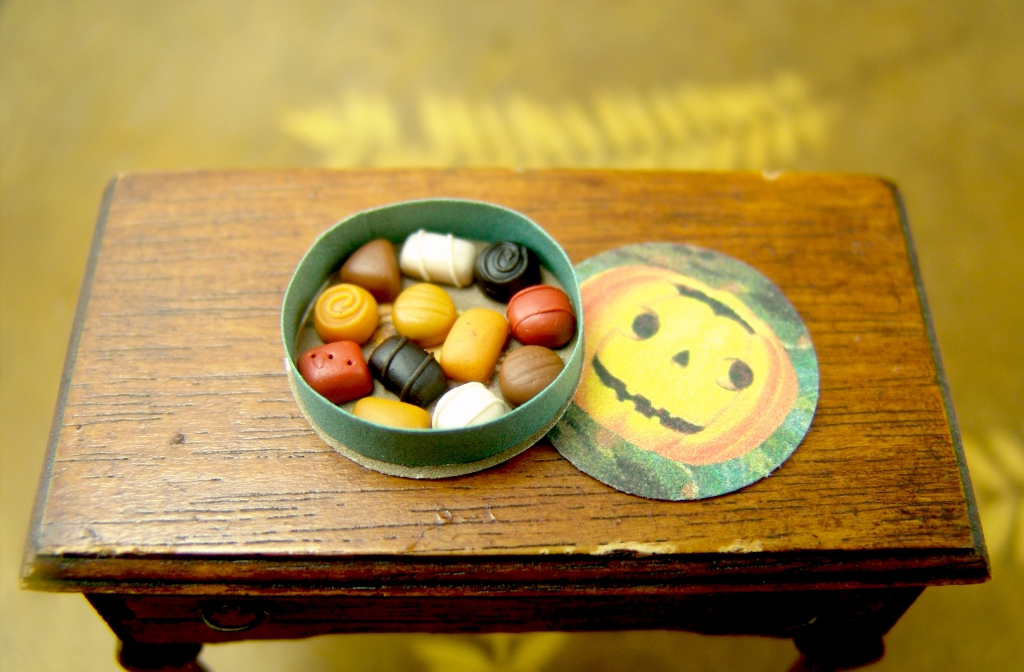
Make Your Own Halloween Box
- To make the box, first, download the printable here (PDF).
- You might want to print it twice: once on card stock and once on regular printer paper. The box top and bottom are best made from card stock, while the box side is easier to work with as regular printer paper.
- Use a 1″ hole punch to cut out the circles for the bottom and lid. You really only need two, but if you like, you can glue the extra own circle on the underside of the pumpkin for a double-sided lid.
- To make the box side, use a bone folder to crease along the center (there’s a pale green indicator line). Then, cut out the strip.
- Wrap the strip around something cylindrical (I used the barrel of my chapstick) to give it a circular shape, then test join the ends to see how the size matches up with your box bottom. There should be a little less than 1/8″ of overlap, but play around to see if you need to wrap it more or less tightly. Glue to secure. (I prefer a thick glue like Aleene’s Original Tacky Glue.)
- Dab a thin line of craft glue along the bottom of the paper loop you just made, and center it in place on the box bottom.
- Fill your box with chocolates, and place the pumpkin lid on top.
These instructions are for a simple flat box lid, but you could also print up a second copy of the box side strip, adjust the overlap before you glue so it’s a bit bigger than the bottom one, and attach it to the underside of the pumpkin lid.

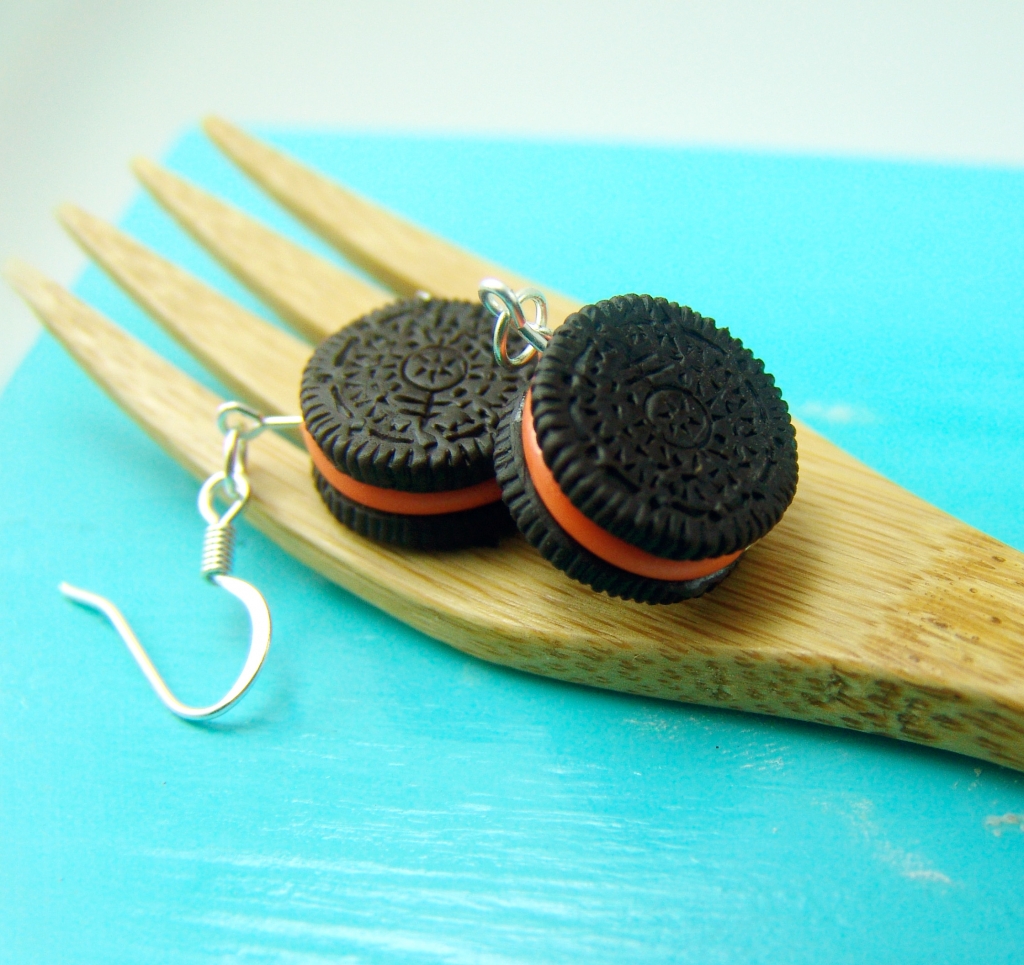
One more bit of Halloween goodness: new chocolate sandwich cookie earrings with pumpkin-y orange creme!
*Curious about my work training? It’s for my other business, my massage therapy office. I’ll be up in Maine doing an advanced bodywork course, part one of three. I’m super excited! If I’m able to continue with the rest of the course this year, I’ll be gone again at the end of October, but this time “only” for ten days. 😉
August 28, 2018 at 8:59 pm
Enjoy your break!
August 29, 2018 at 6:26 pm
Thank you SO much for sharing, dearest Mo. Ohmygoodness the new Halloween goodies are adorable! 😀
Good luck (skill) with your training. <3
August 30, 2018 at 12:15 am
Thank you Mo! The Halloween box is very neat and your chocolates
are extra cute in the fall colors.
August 31, 2018 at 3:06 pm
Thanks, Sharon! 🙂
August 31, 2018 at 3:07 pm
Thank you, Deb!!
August 31, 2018 at 3:07 pm
Thanks, Diane! 🙂