


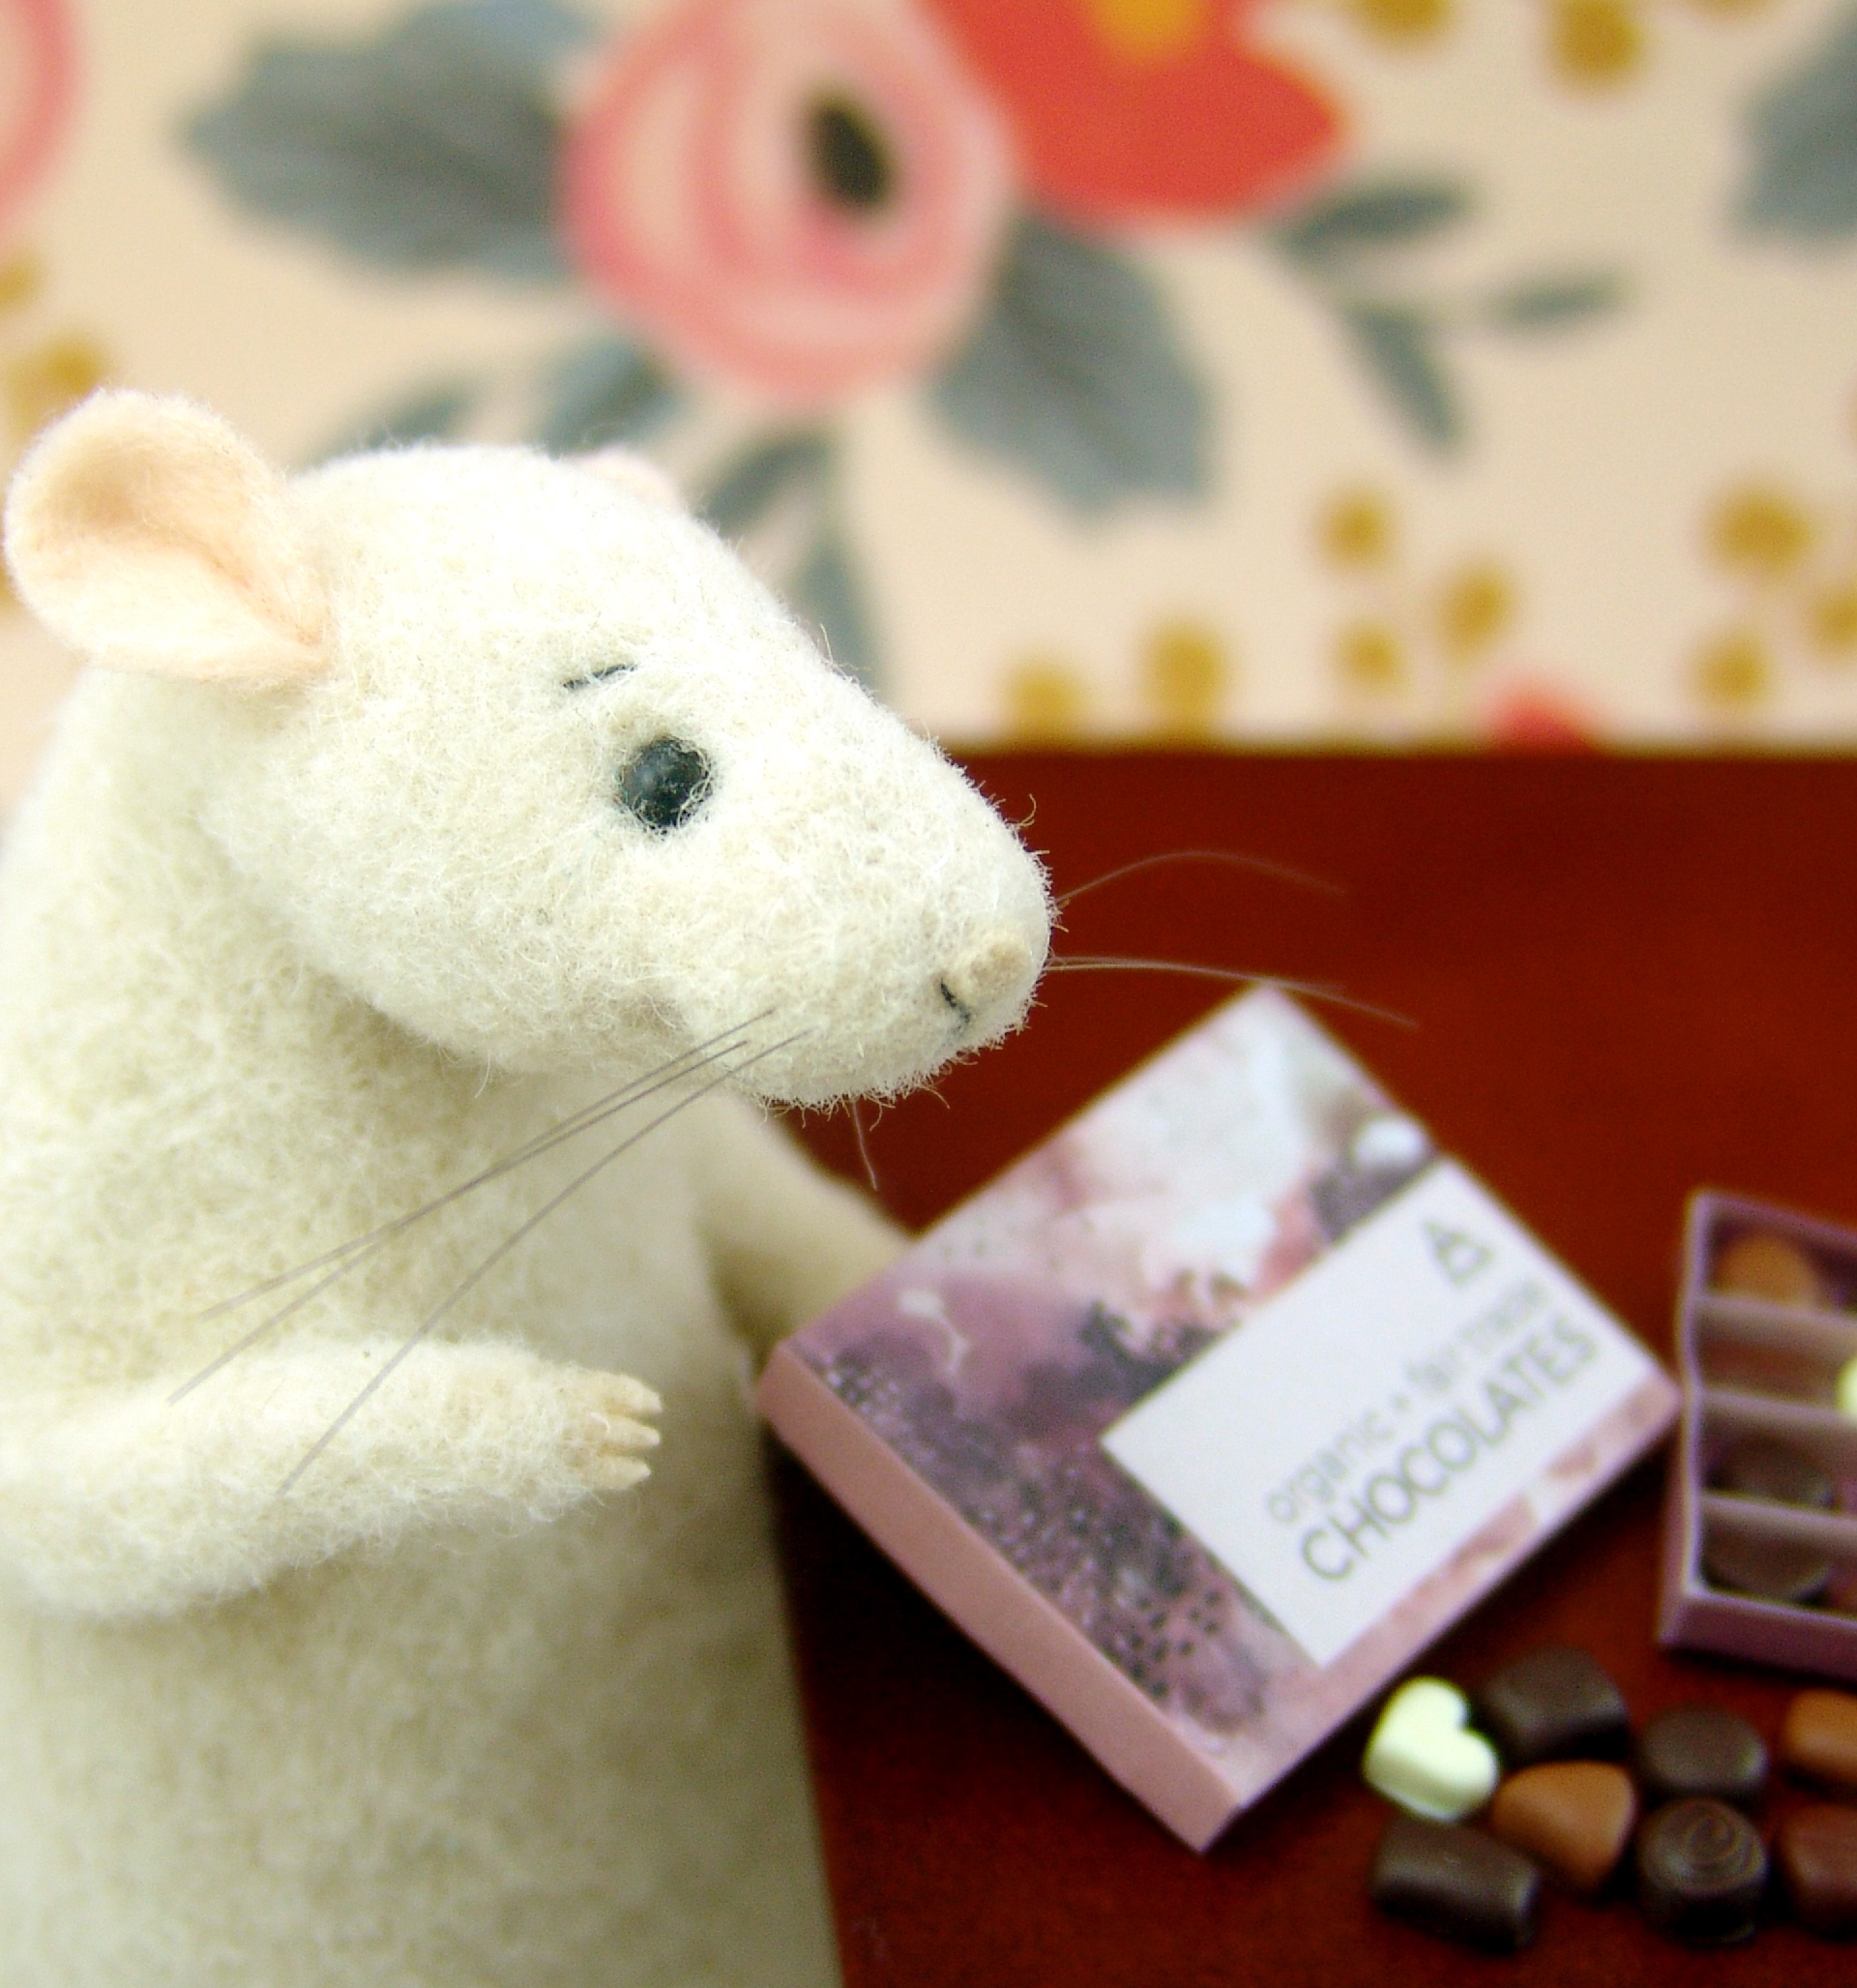
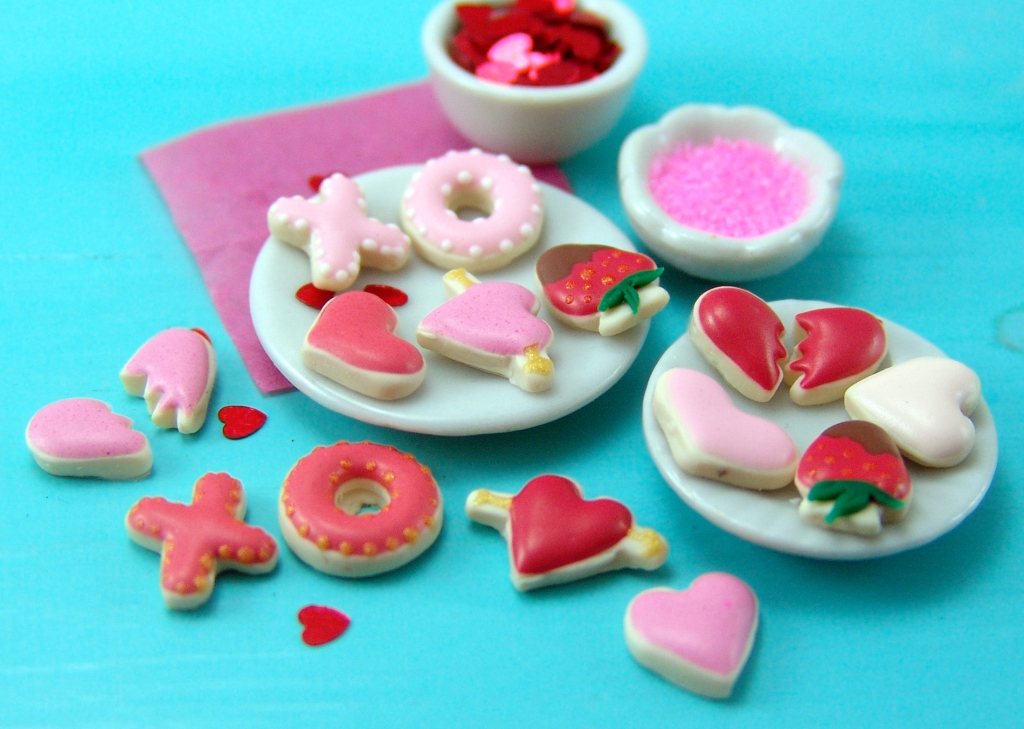
I’ve been in a serious Valentine’s mood lately, so I made a batch of brand new cookie molds, along with an updated miniature chocolates mold. Below, I show you how to mix clay colors for the chocolates, and you can download a free printable for the cute little box.
First, the cookie molds. You can get them in a discounted set, or buy them individually.
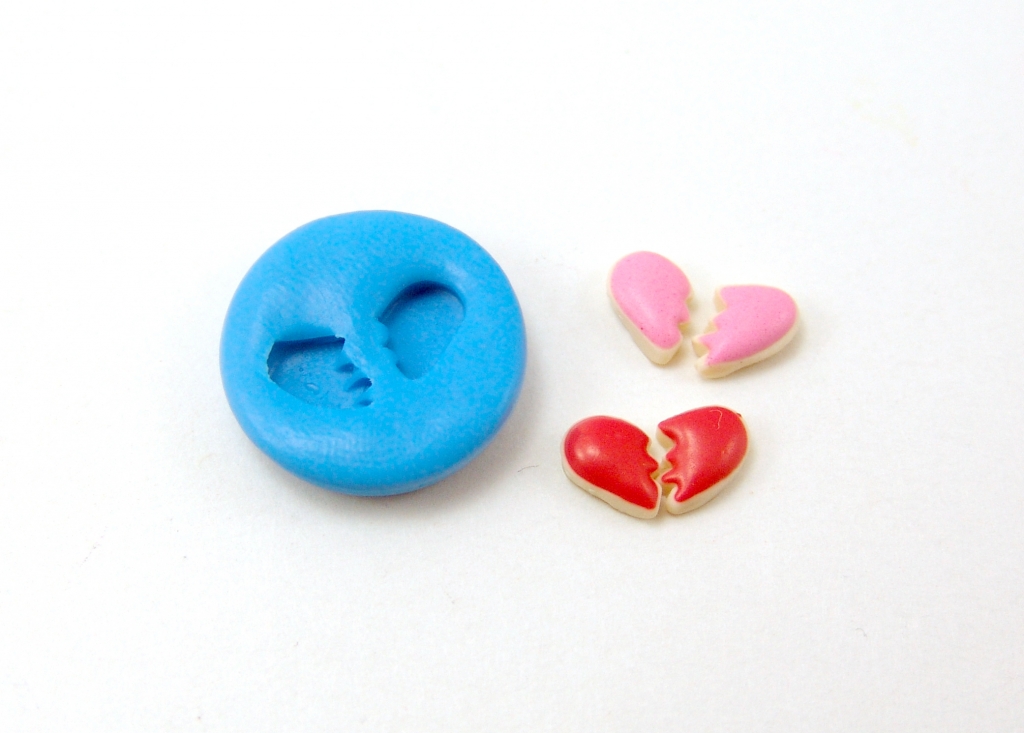
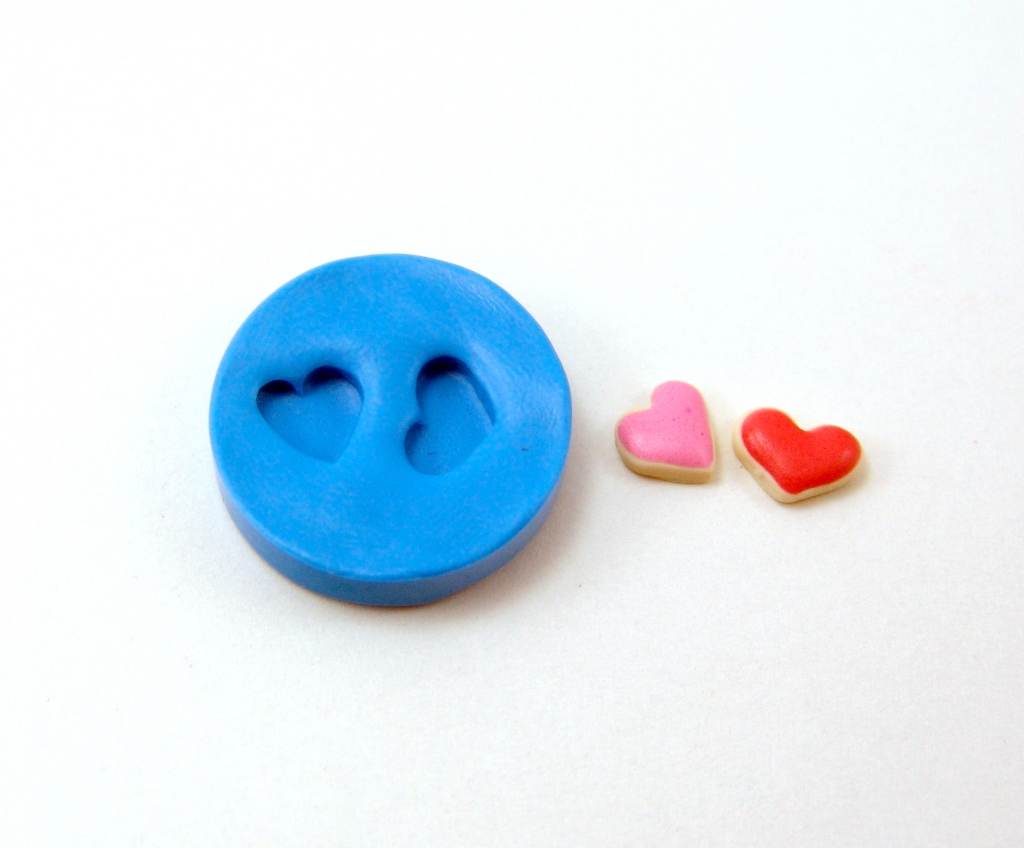
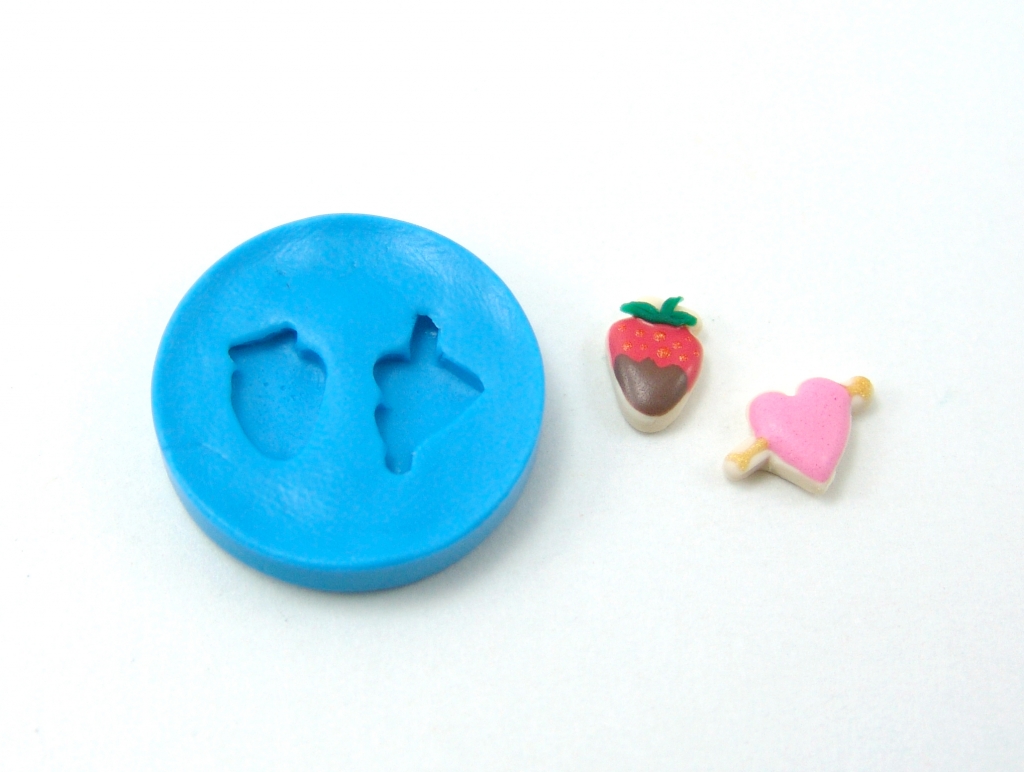 You can also buy the cookies already made–I have one set available here.
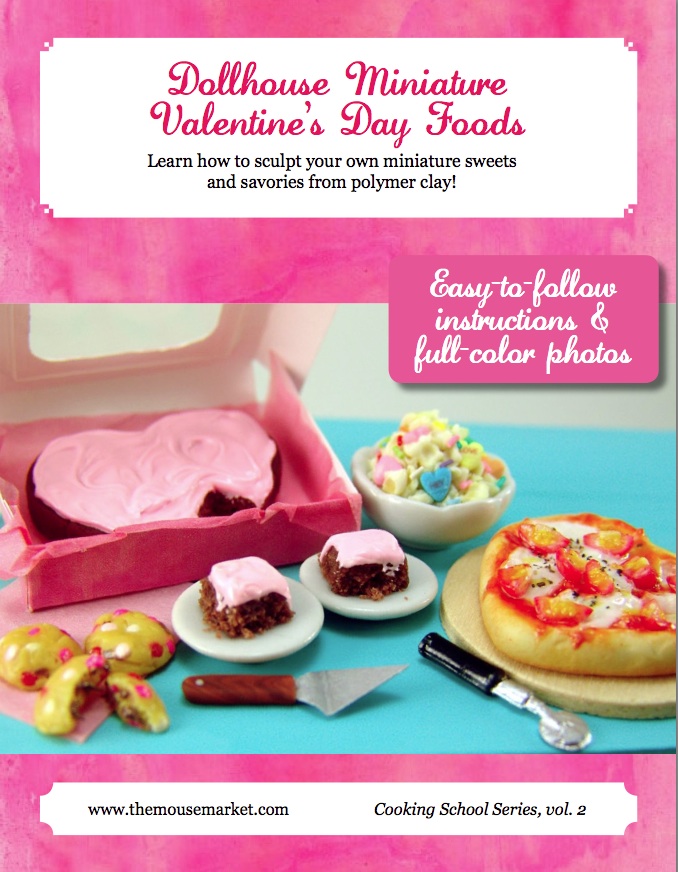
 Want more Valentine’s Day goodness? Be sure to download your copy of Dollhouse Miniature Valentine’s Day Foods (also available as part of this discounted set or this discounted set).
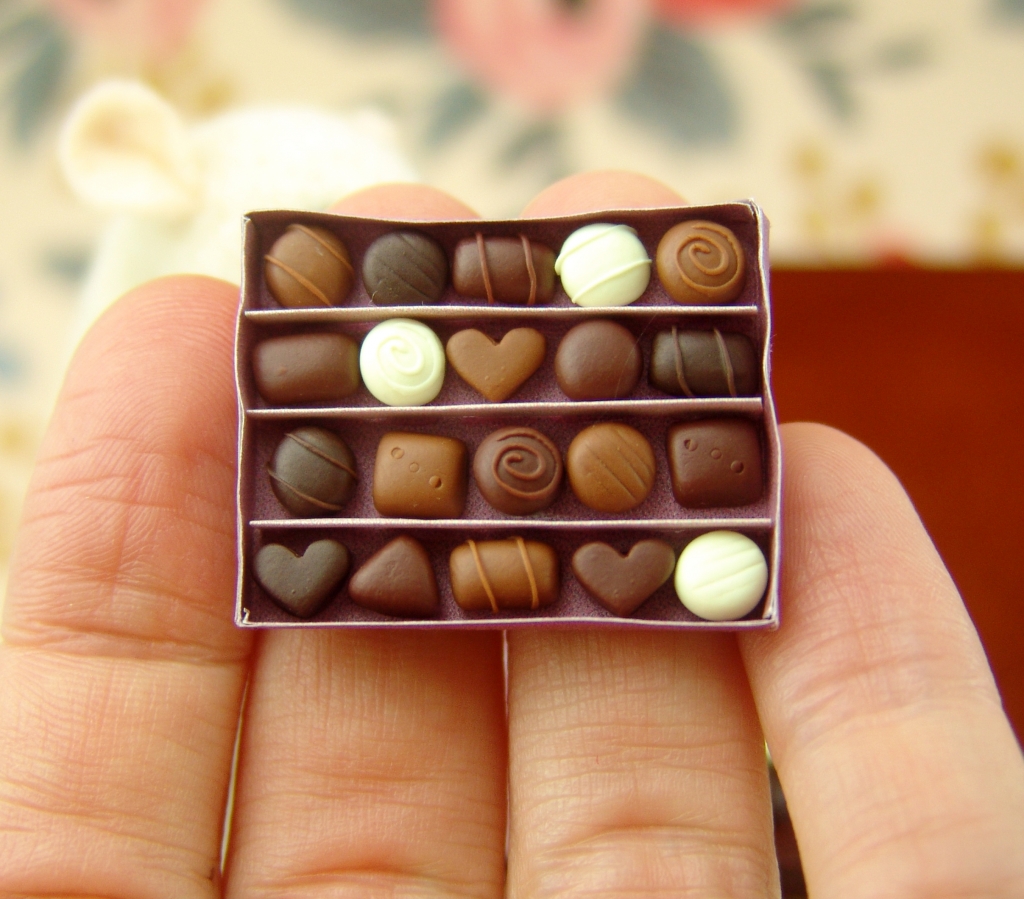
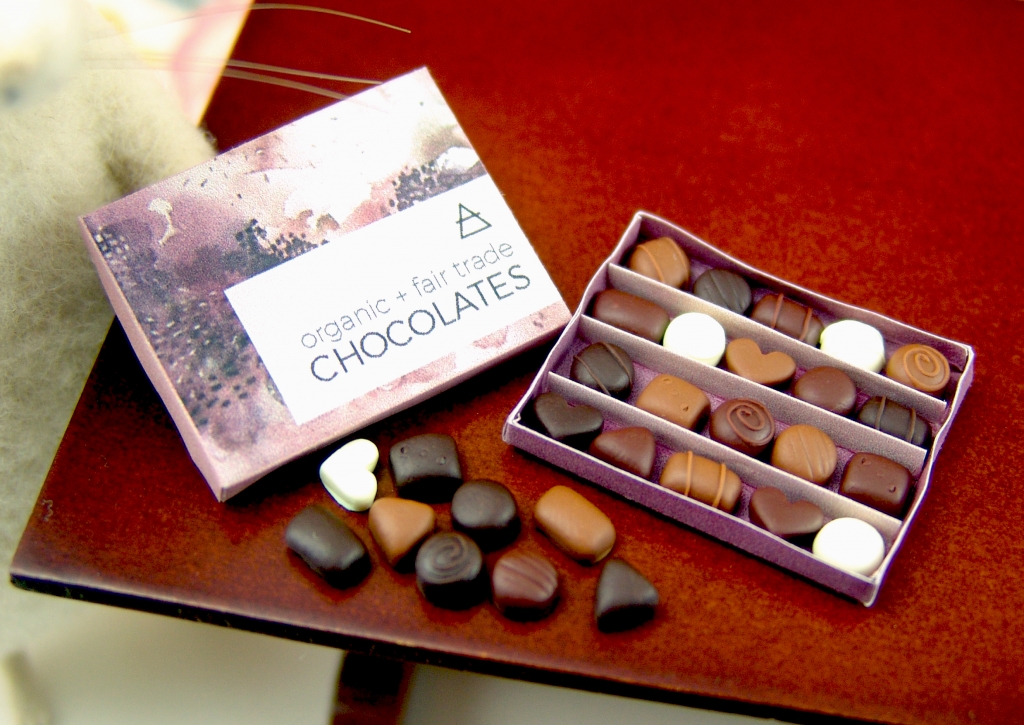
And now, on to the chocolates! You can find the brand new mold here, or buy this set of chocolates already made (only one available).
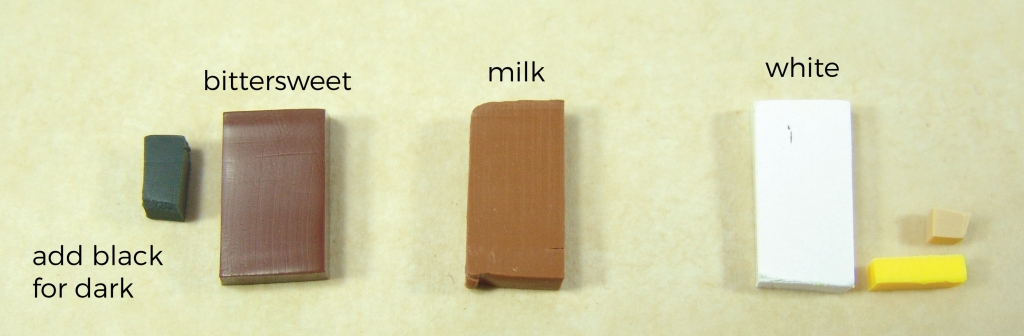
 Here are the clay colors I used for each chocolate flavor:
- Sculpey Premo in Burnt Umber for bittersweet; add small chunks of black for dark chocolate (start with a small chunk and add more if needed to achieve the desired color)
- Sculpey Premo in Raw Sienna for milk chocolate
- 6 parts Sculpey White + 1 part Sculpey Yellow + 1 pinch Sculpey Ecru for white chocolate
Once you have the colors mixed, it’s time to add translucent clay, and the ratio differs depending on the chocolate flavor.
- two parts dark to one part translucent
- one part bittersweet to one part translucent
- one part milk to one part translucent
- one part white to two parts translucent
![]()
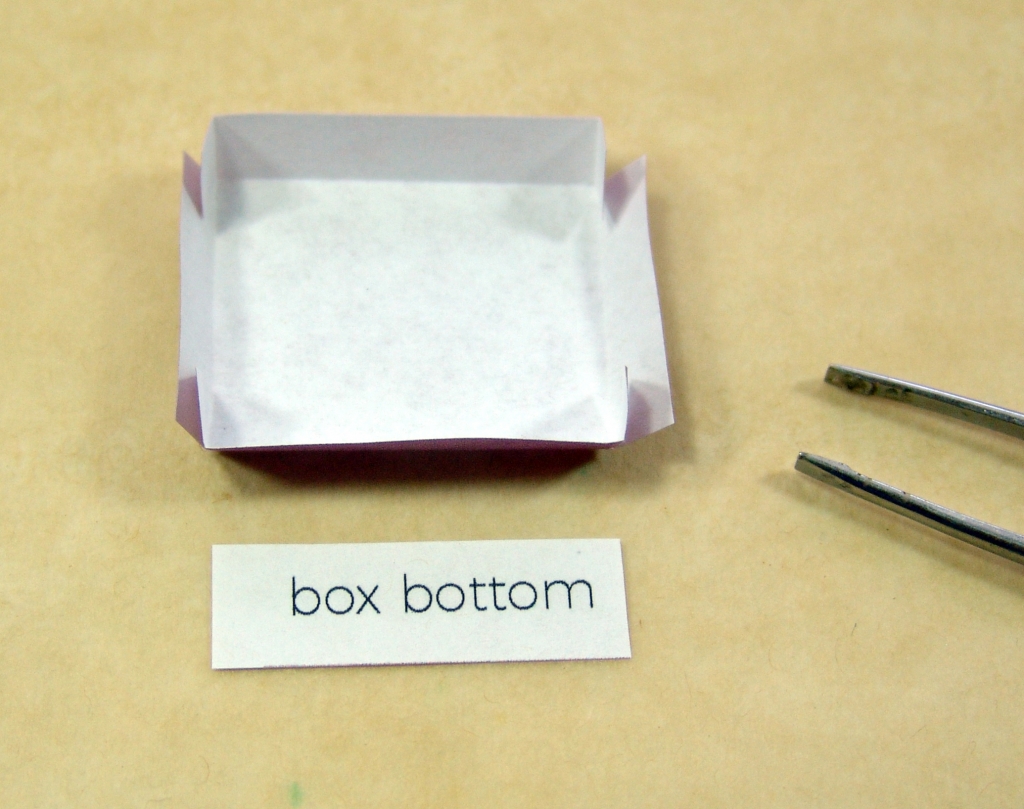
To make the box, first download this PDF printable. Print out the pieces (I used regular copy paper), then cut them out (dividers not shown):

Use a bone folder to crease the box bottom. Add tiny dabs of glue on the four corner tabs (the lighter purple squares) and press the tabs onto the short sides of the box. You can give them a little pinch with tweezers to secure the hold.
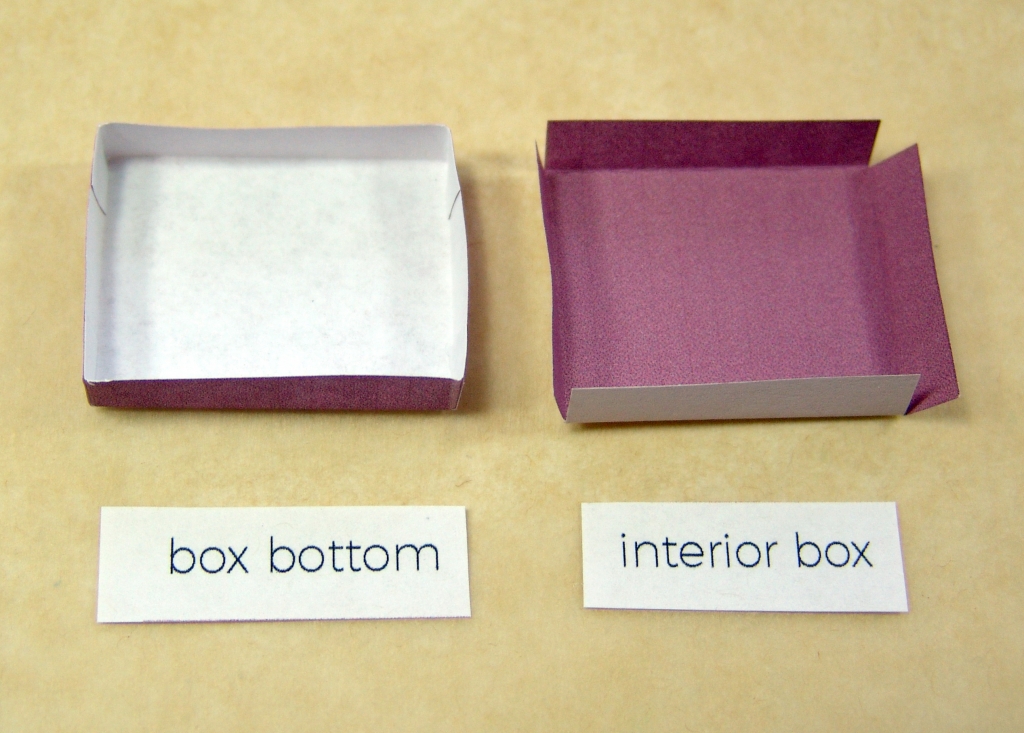
Cut out the box interior; this is a lining for the box so the inside isn’t plain white. Use a toothpick to smooth a thin coat of glue on the sides of the interior box piece, and press into place. You can use the point of the bone folder to press the corners into place.
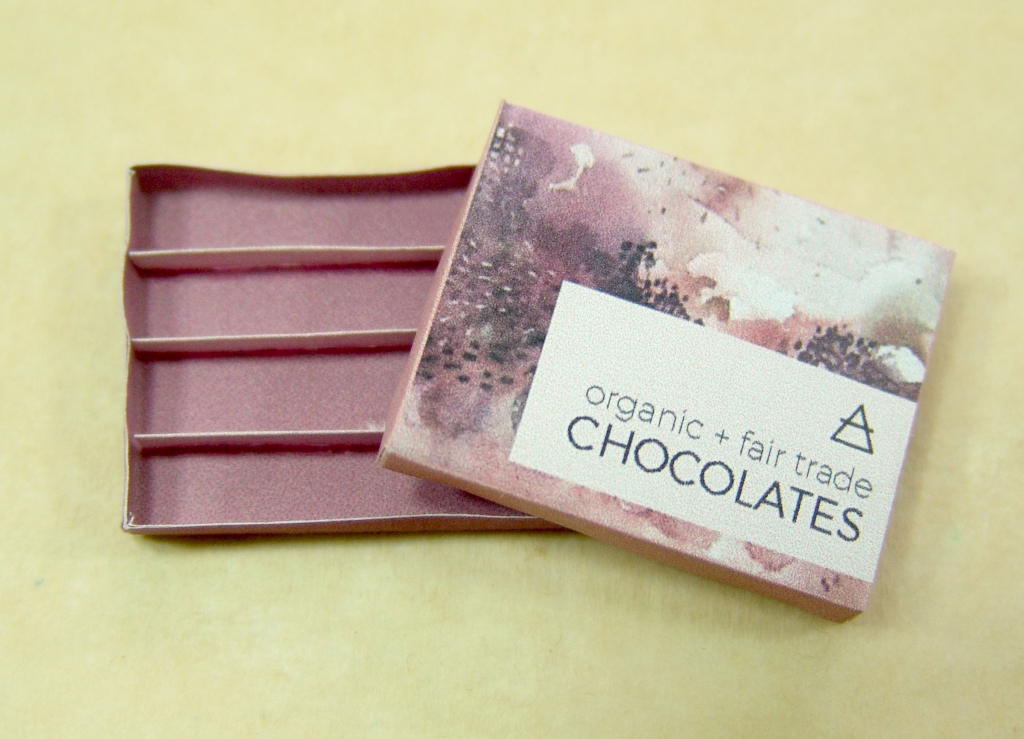
Cut out the dividers and fold them in half lengthwise. Use a thin coat of glue to join the halves together. Add a thin bead of glue along the bottom edge (the cut edge, not the folded edge) and the two short sides, and use tweezers to press the divider into the box bottom. Repeat with all three dividers, evenly spacing them.

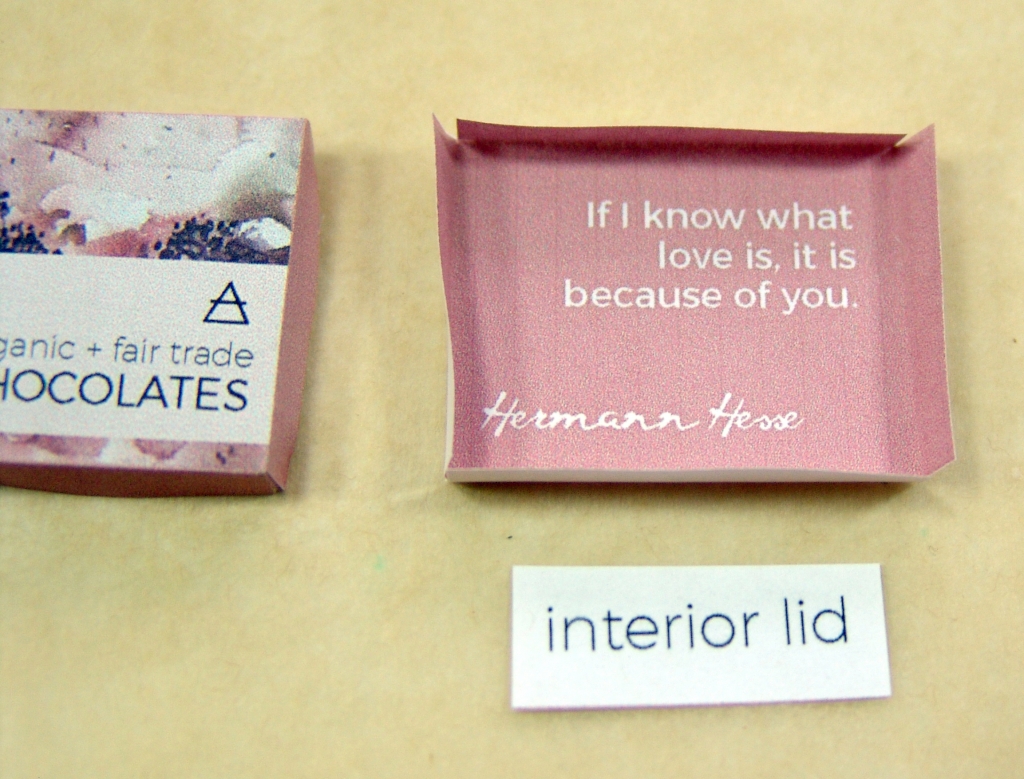
Cut out the lid and the lid interior, and assemble just like you did for the bottom of the box.
Voila–you’re done! Use a tiny dab of E-6000 glue to attach your baked chocolates into the box.
February 1, 2018 at 3:27 pm
THANK YOU!!!!!!
Getting ready to place another mold order. I need the Valentine & Halloween molds and the new Chocolate mold. I’m also thinking ahead to Christmas.
February 2, 2018 at 6:10 pm
ohmygosh I love that chocolates mold so much!! Come on, payday! 😀
Happy Friday, dearest Mo. <3
February 5, 2018 at 9:30 pm
These are so adorable!!
February 16, 2018 at 5:14 pm
Dear Mo,
Neat Candy Box Tip: I creased the parts of the box before I cut it out. It worked so well, I think I will do all my boxes like this from now on! I also varnished it with water based varnish before cutting out.
Judy
March 19, 2018 at 9:56 am
oh my god! so cute!
April 18, 2018 at 7:44 pm
Thanks, Steph! 🙂
April 18, 2018 at 7:44 pm
Such a great idea! Thanks for sharing, Judy! 🙂
April 18, 2018 at 7:45 pm
Thanks, Michelle! 🙂
April 18, 2018 at 7:45 pm
Thanks, Marilyn! 🙂
April 18, 2018 at 7:46 pm
Happy (very belated) Friday to you too! <3
January 6, 2020 at 11:53 pm
Is there a glaze on these? I used satin, and it is too shiny…
January 7, 2020 at 2:00 pm
Hi Amy, I didn’t use any glaze on mine. The clay had a little bit of a sheen without it, and that looked more natural to me.